
Sample Image
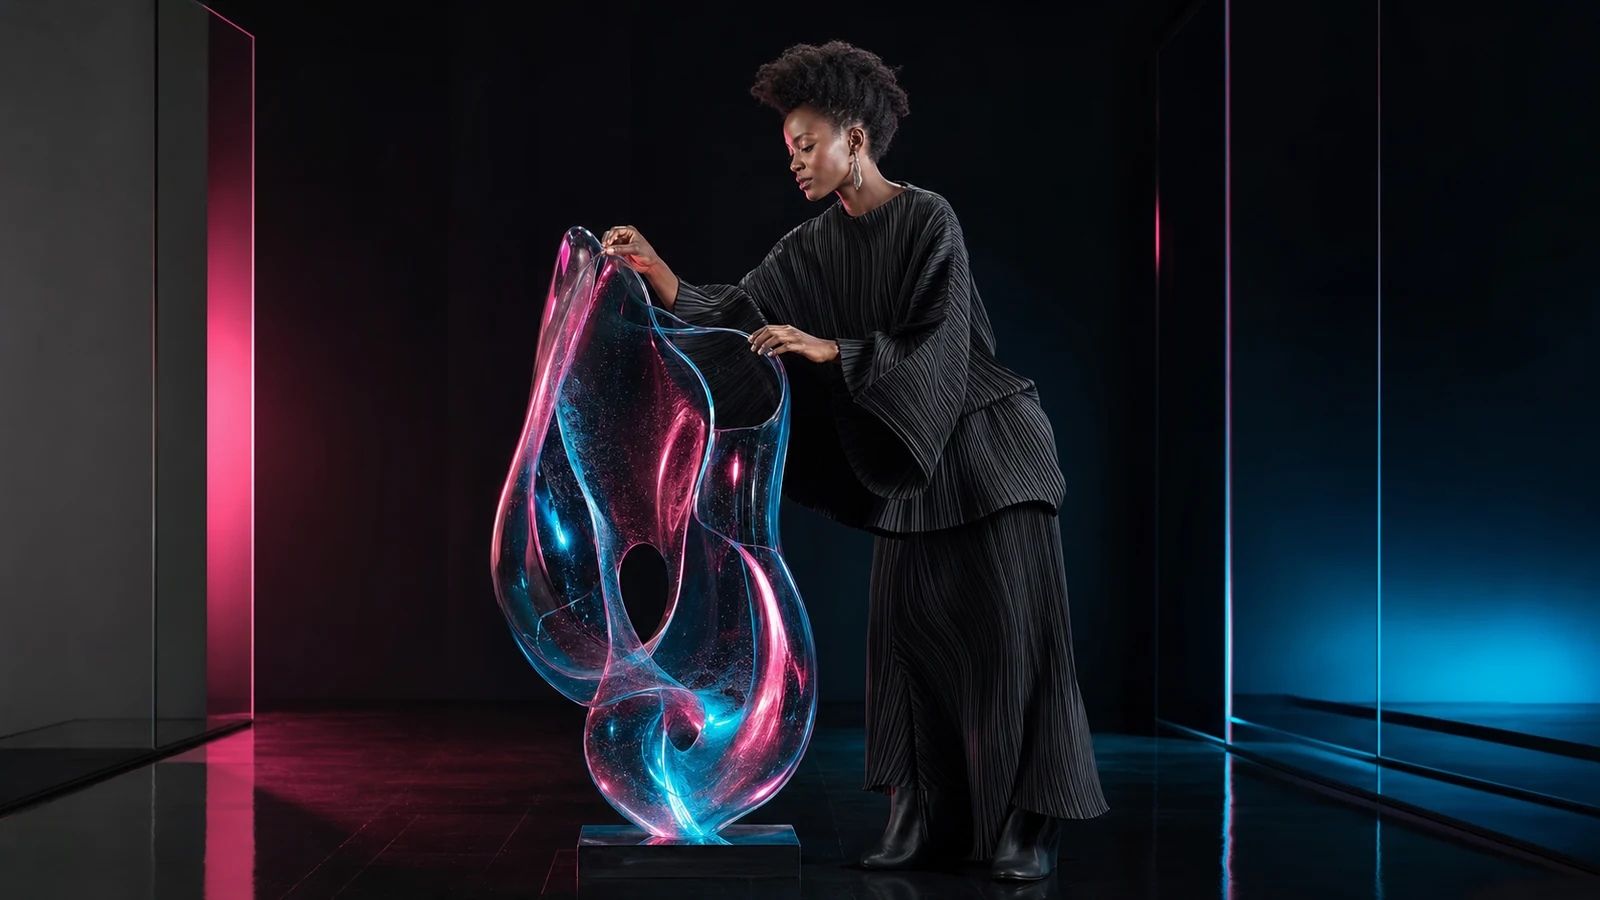
Transform a reference image with precise written instructions
Image to Image starts with an uploaded visual and applies a directed change. You can restyle a scene, replace a background, adjust materials or lighting, and create variations while asking the model to preserve important parts of the source.
The best results come from separating what should change from what should stay the same. Choose a model based on editing precision and visual style, then set the Aspect Ratio and Resolution supported by that model.
- Background replacement
- Product and material variations
- Character-consistent edits
- Artwork and photo restyling
From input to a reviewable result.
Keep the first attempt focused, review the result, and change one variable at a time. This makes model comparisons and prompt improvements easier to evaluate.
- 01
Upload the reference
Choose a clear JPG, PNG, or WebP up to 10 MB with the subject and layout you want to edit.
- 02
Write the change request
Describe the edit first, then state the identity, composition, typography, or objects that must remain consistent.
- 03
Choose model and output
Select the editing model, Aspect Ratio, and Resolution, review the credit cost, and generate a variation.
Choose the model for the job.
Models differ in visual character, instruction following, available controls, speed, and credit cost. Start with the option closest to your goal, then compare using the same input.
Practical tips before you generate.
- State both the requested change and the elements that should be preserved.
- Use a high-quality source without compression artifacts around important details.
- Make one major edit per pass when identity or layout consistency matters.
- Keep Aspect Ratio aligned with the source unless reframing is intentional.